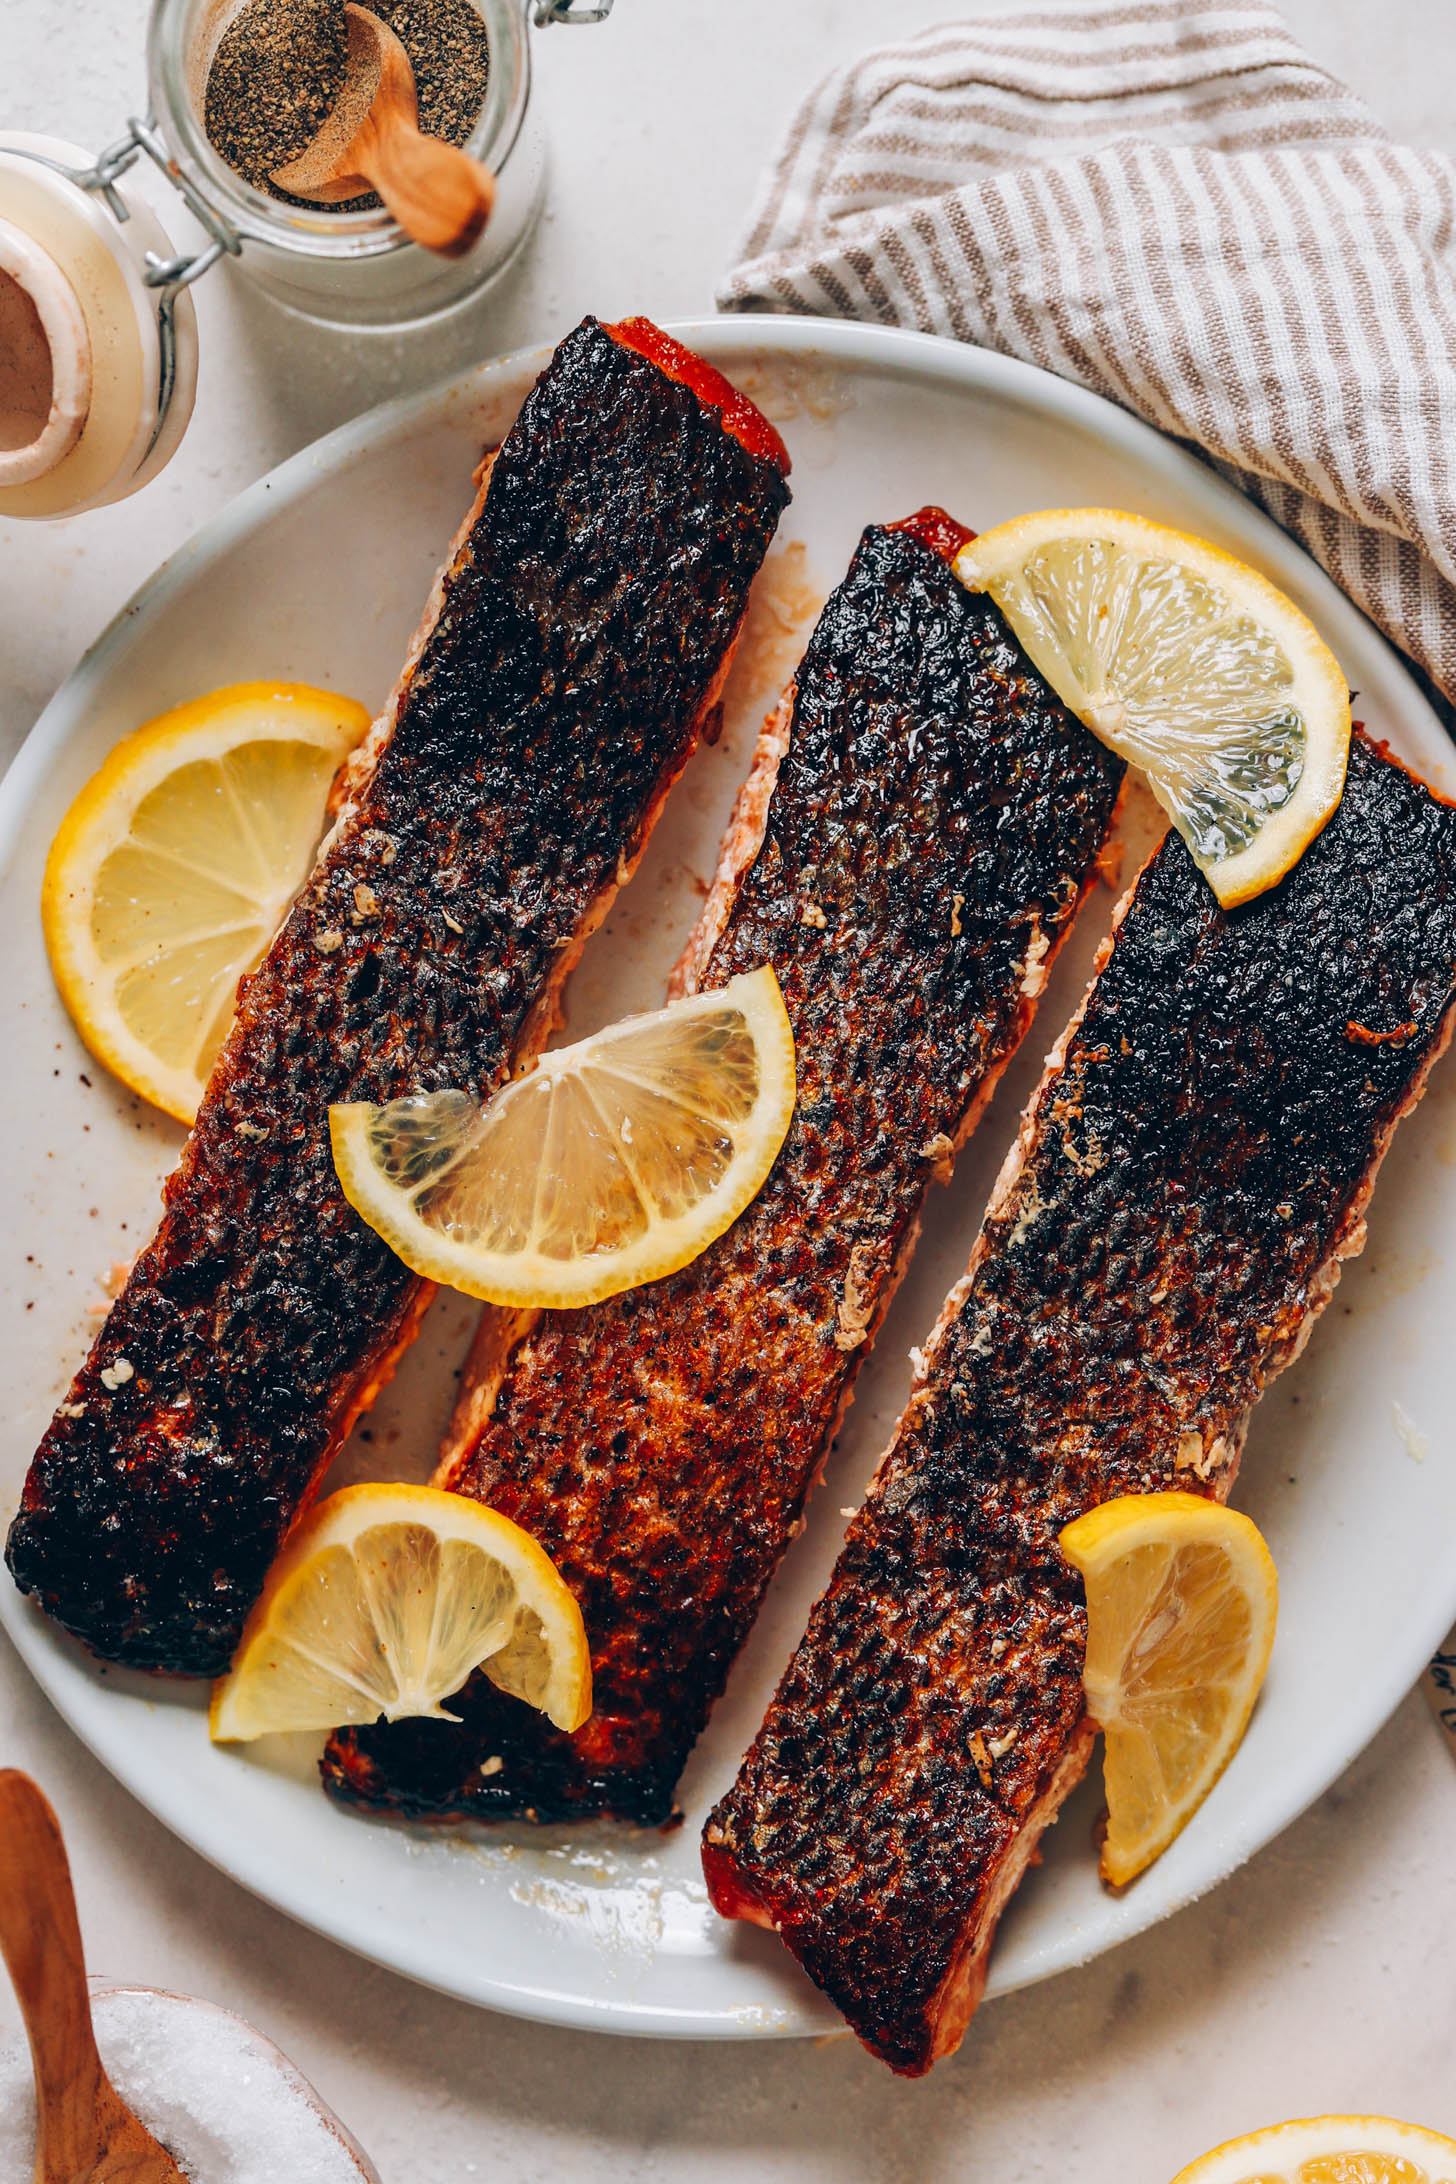
Are you ready to learn how to make restaurant-quality salmon at home? We thought so! This salmon is quick and easy — and so rewarding! Not only is it perfectly tender and flaky with crispy skin, but it’s incredibly versatile and perfect for pairing with bowls, risotto, and beyond!
Just 1 pan, 15 minutes, and 4 ingredients are required for the ultimate at-home salmon. Let us show you how it’s done!
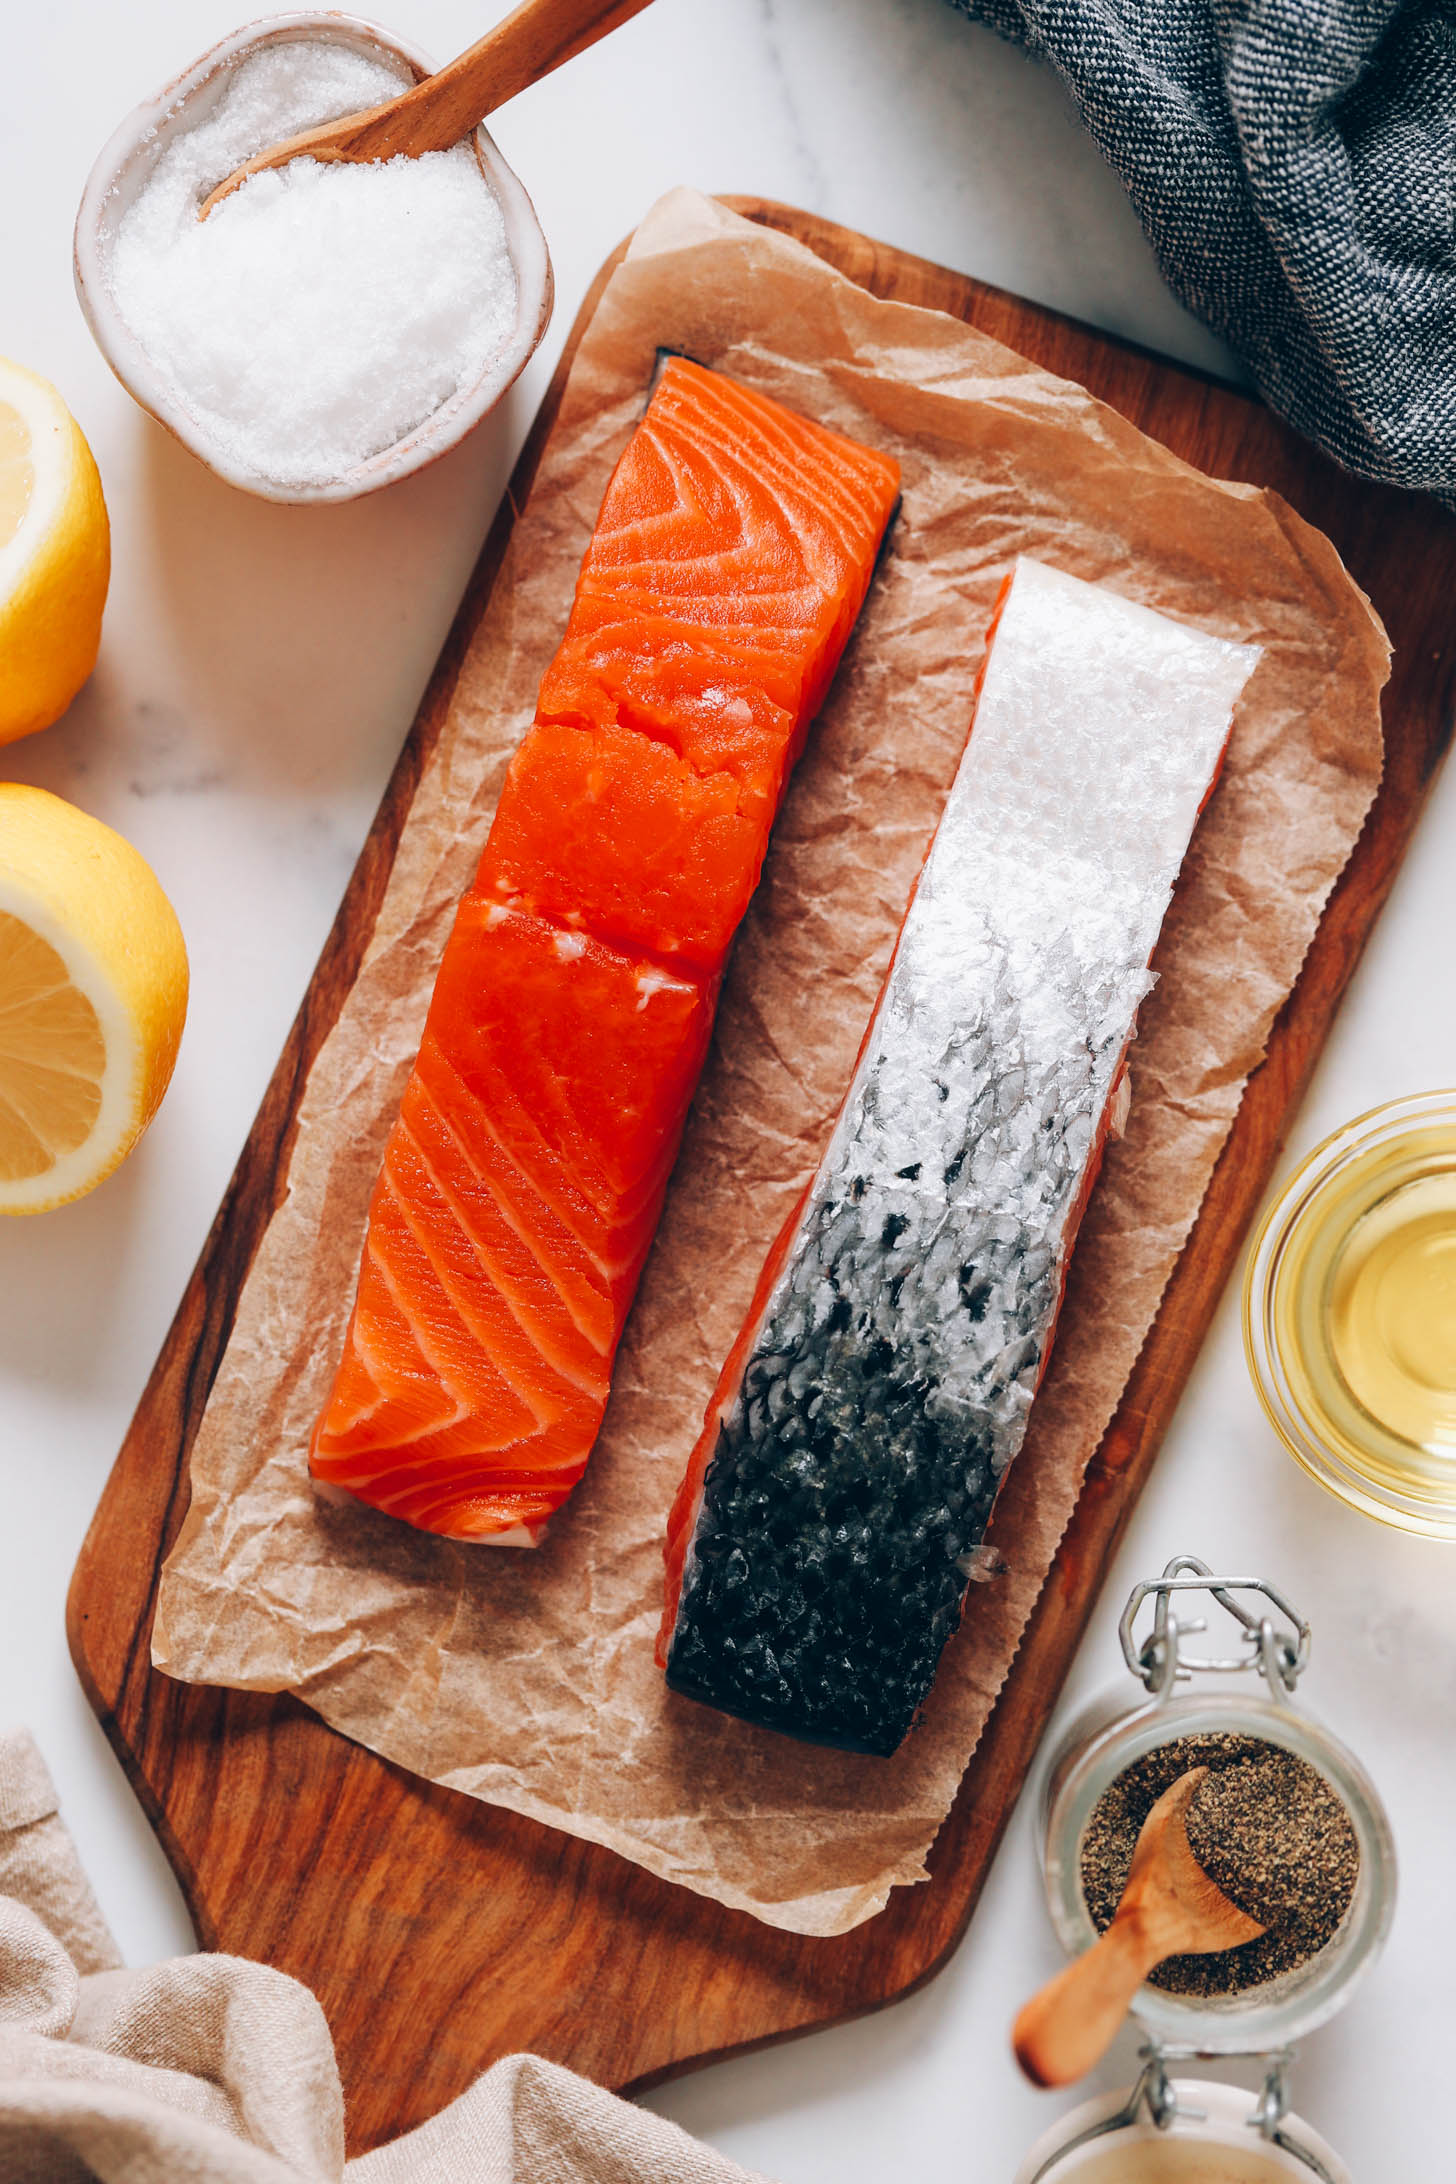
How to Cook Salmon in a Pan
If you’re looking to make salmon that’s perfectly flaky with crispy skin, then there are a few secrets you need to know.
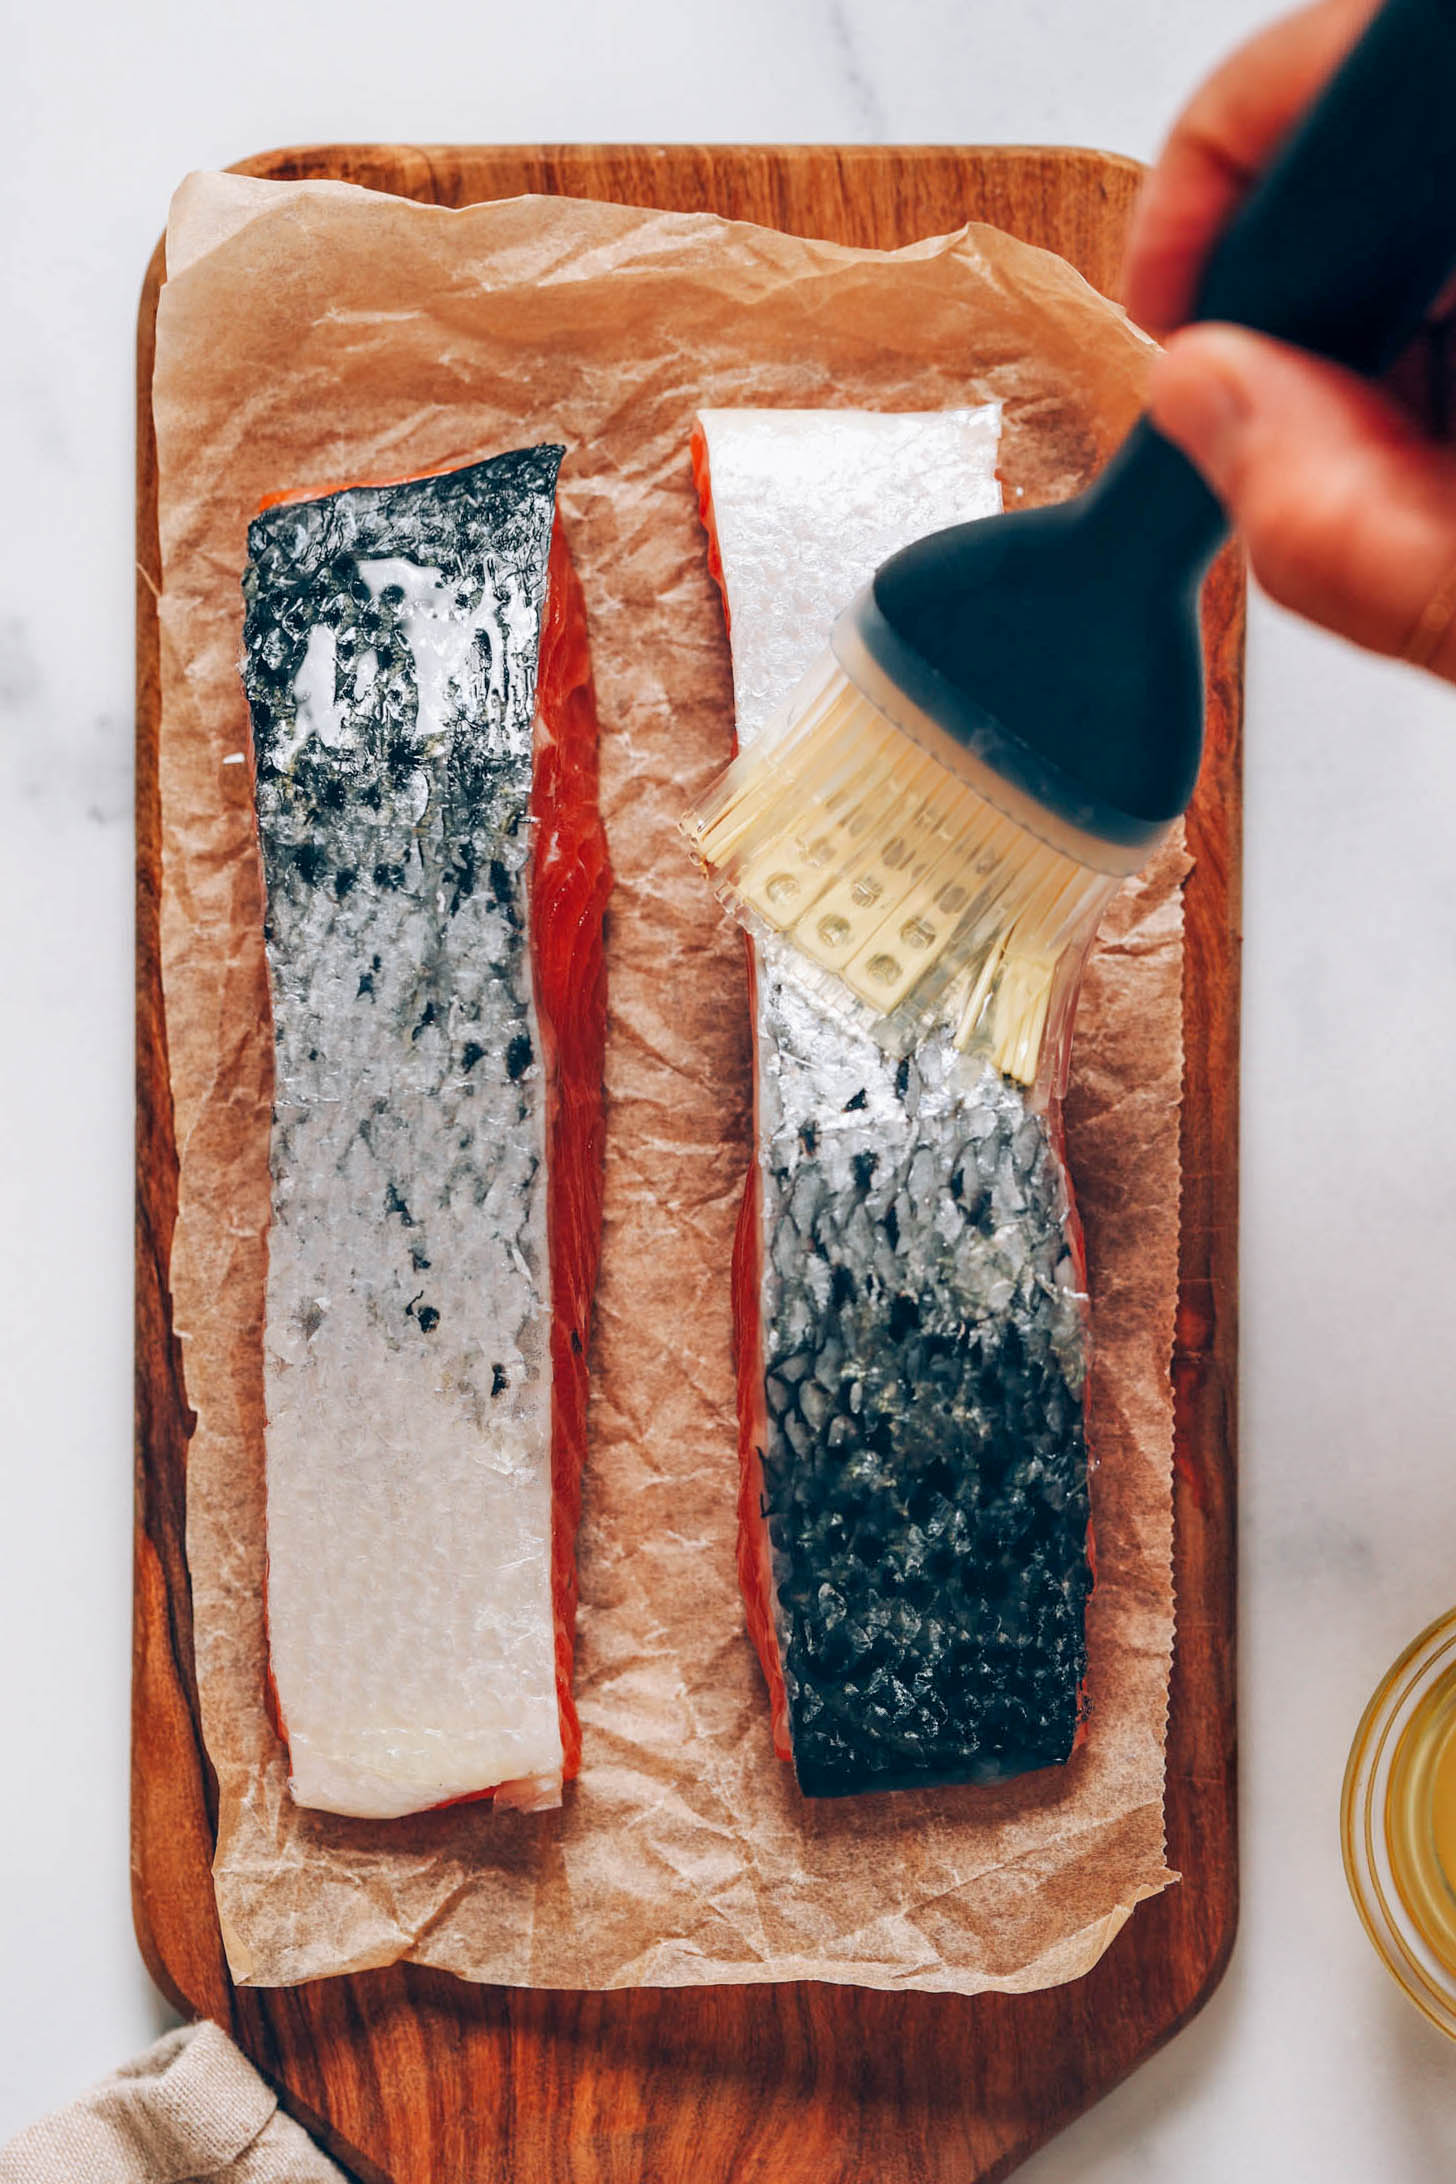
First, brush the skin with oil rather than adding the oil to the pan. Not only does this prevent the oil from splattering everywhere, but it also prevents it from smoking, reducing any fishy smell that may linger in the kitchen.
Second, it’s best to use an oil that’s suitable for high-heat cooking (like avocado oil) because to achieve a crispy skin, you’ll need to cook the salmon at medium-high heat.
Next, you’ll want to use a cast iron skillet that’s well seasoned (or enamel coated) to prevent the salmon from sticking. Cast iron holds heat well, which encourages that crispy skin we’re going for. If you don’t have a well-seasoned skillet, check out our guide to cast iron for tips on buying one or for instructions on re-seasoning the one you already have.
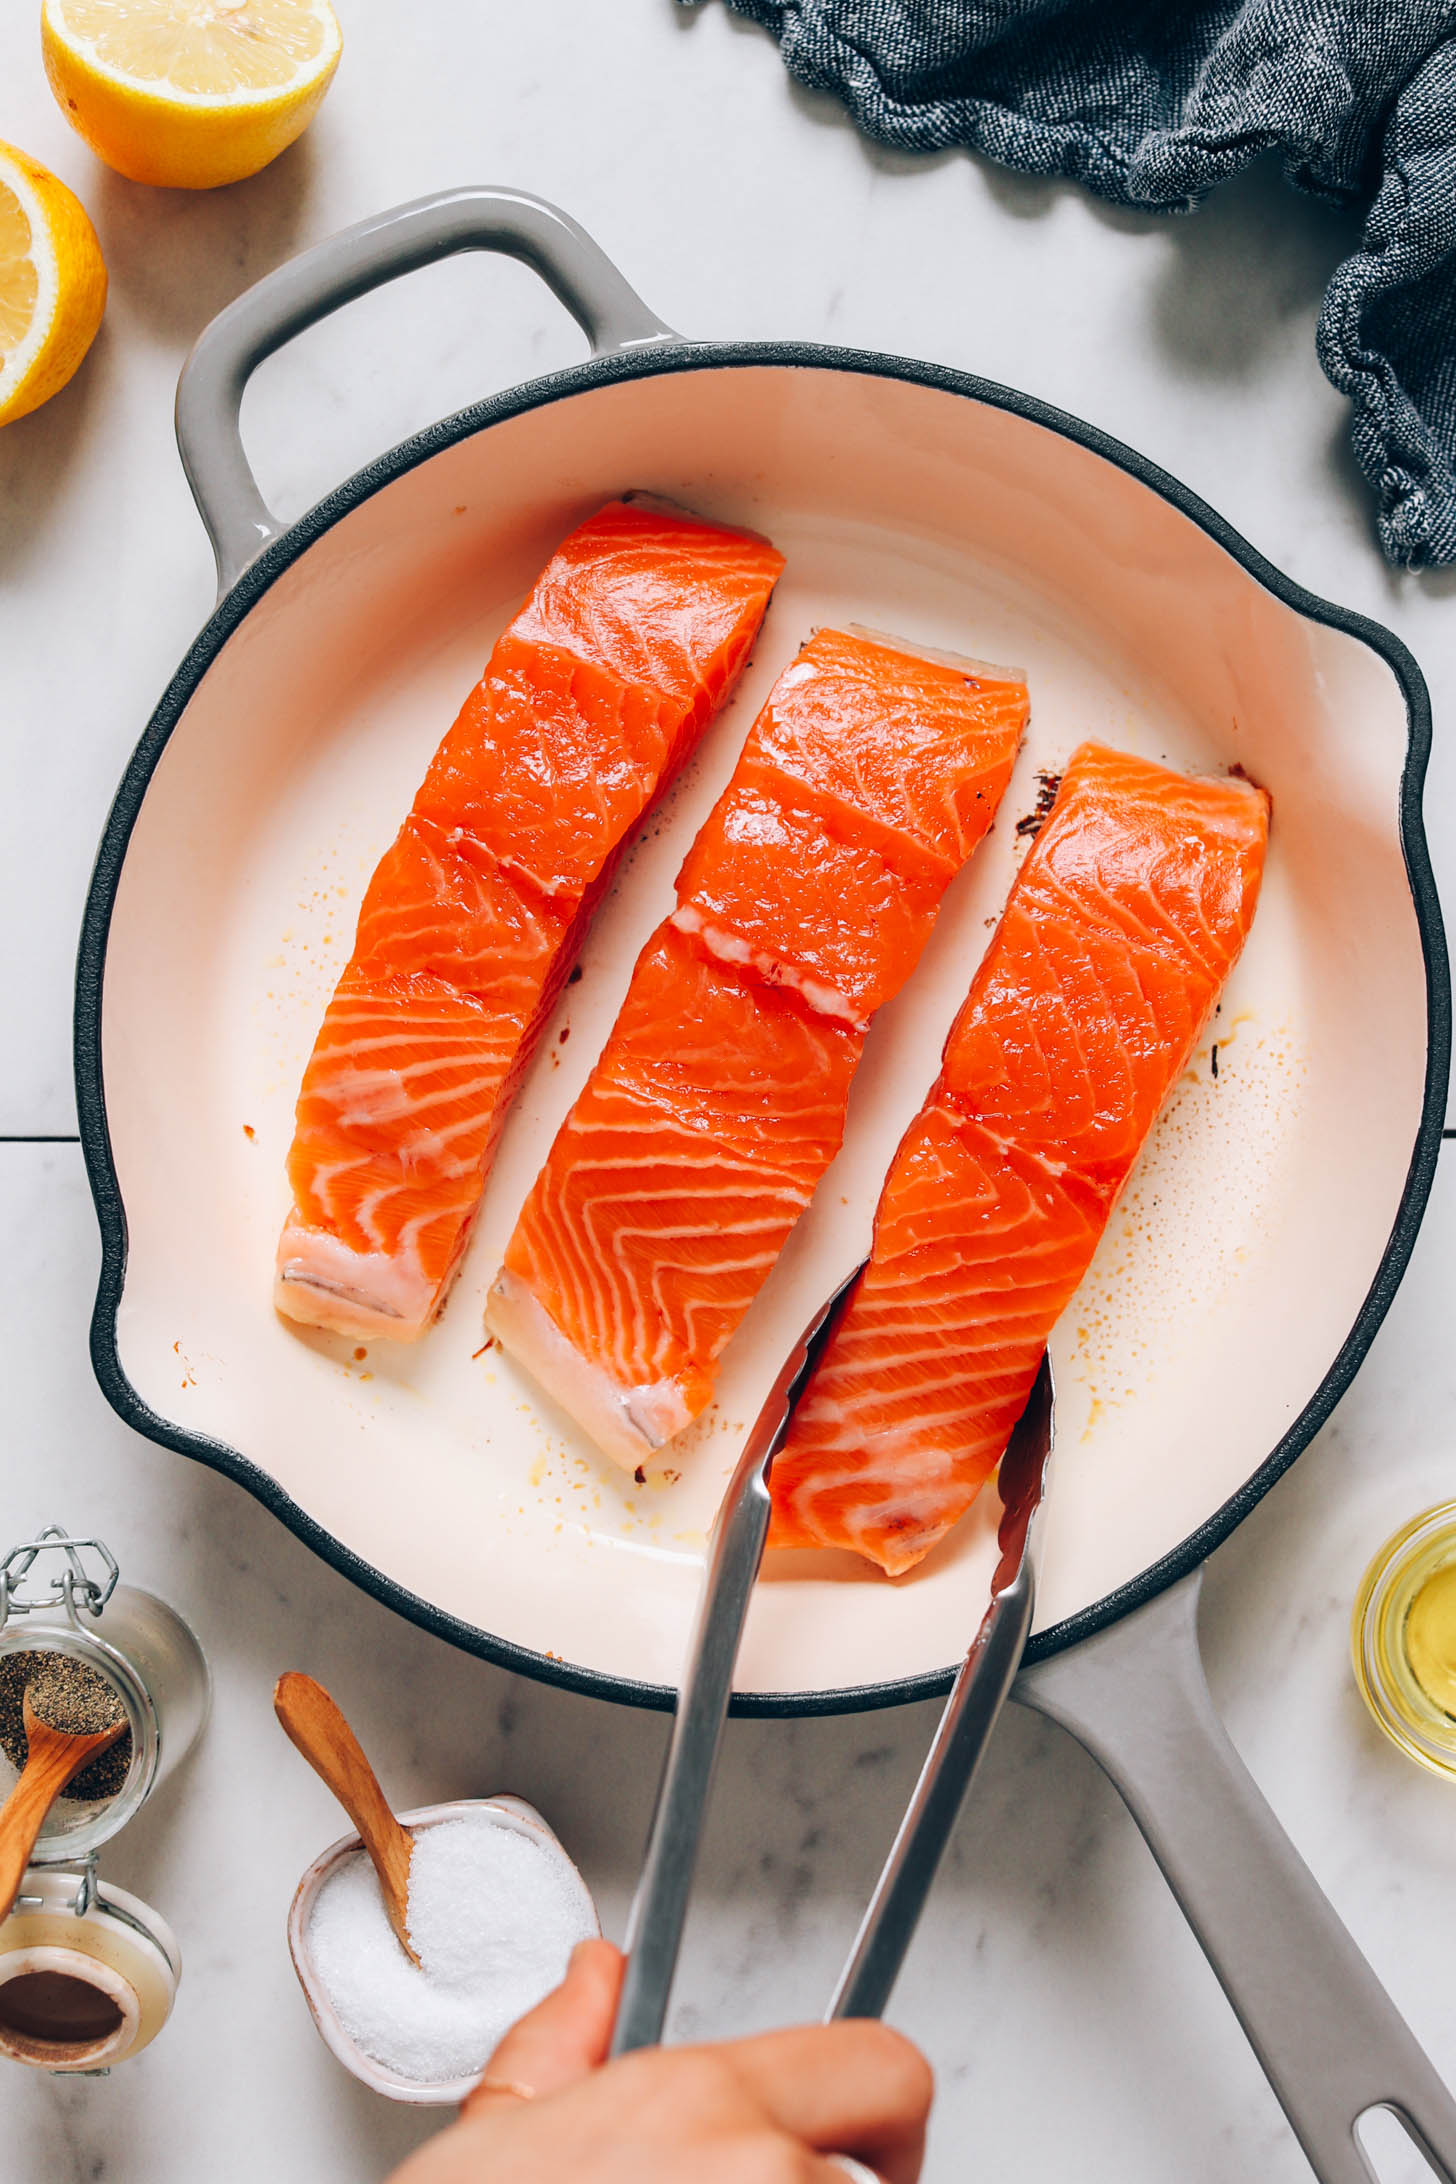
When ready to cook, start with the skin side down. It’s important to leave the filets undisturbed and cook at a high enough temperature for long enough to help develop a crispy skin (~6-7 minutes at medium heat).
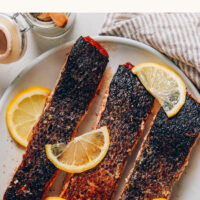
At this point, the salmon will be cooked about half to three-quarters of the way up the sides (see photo below).
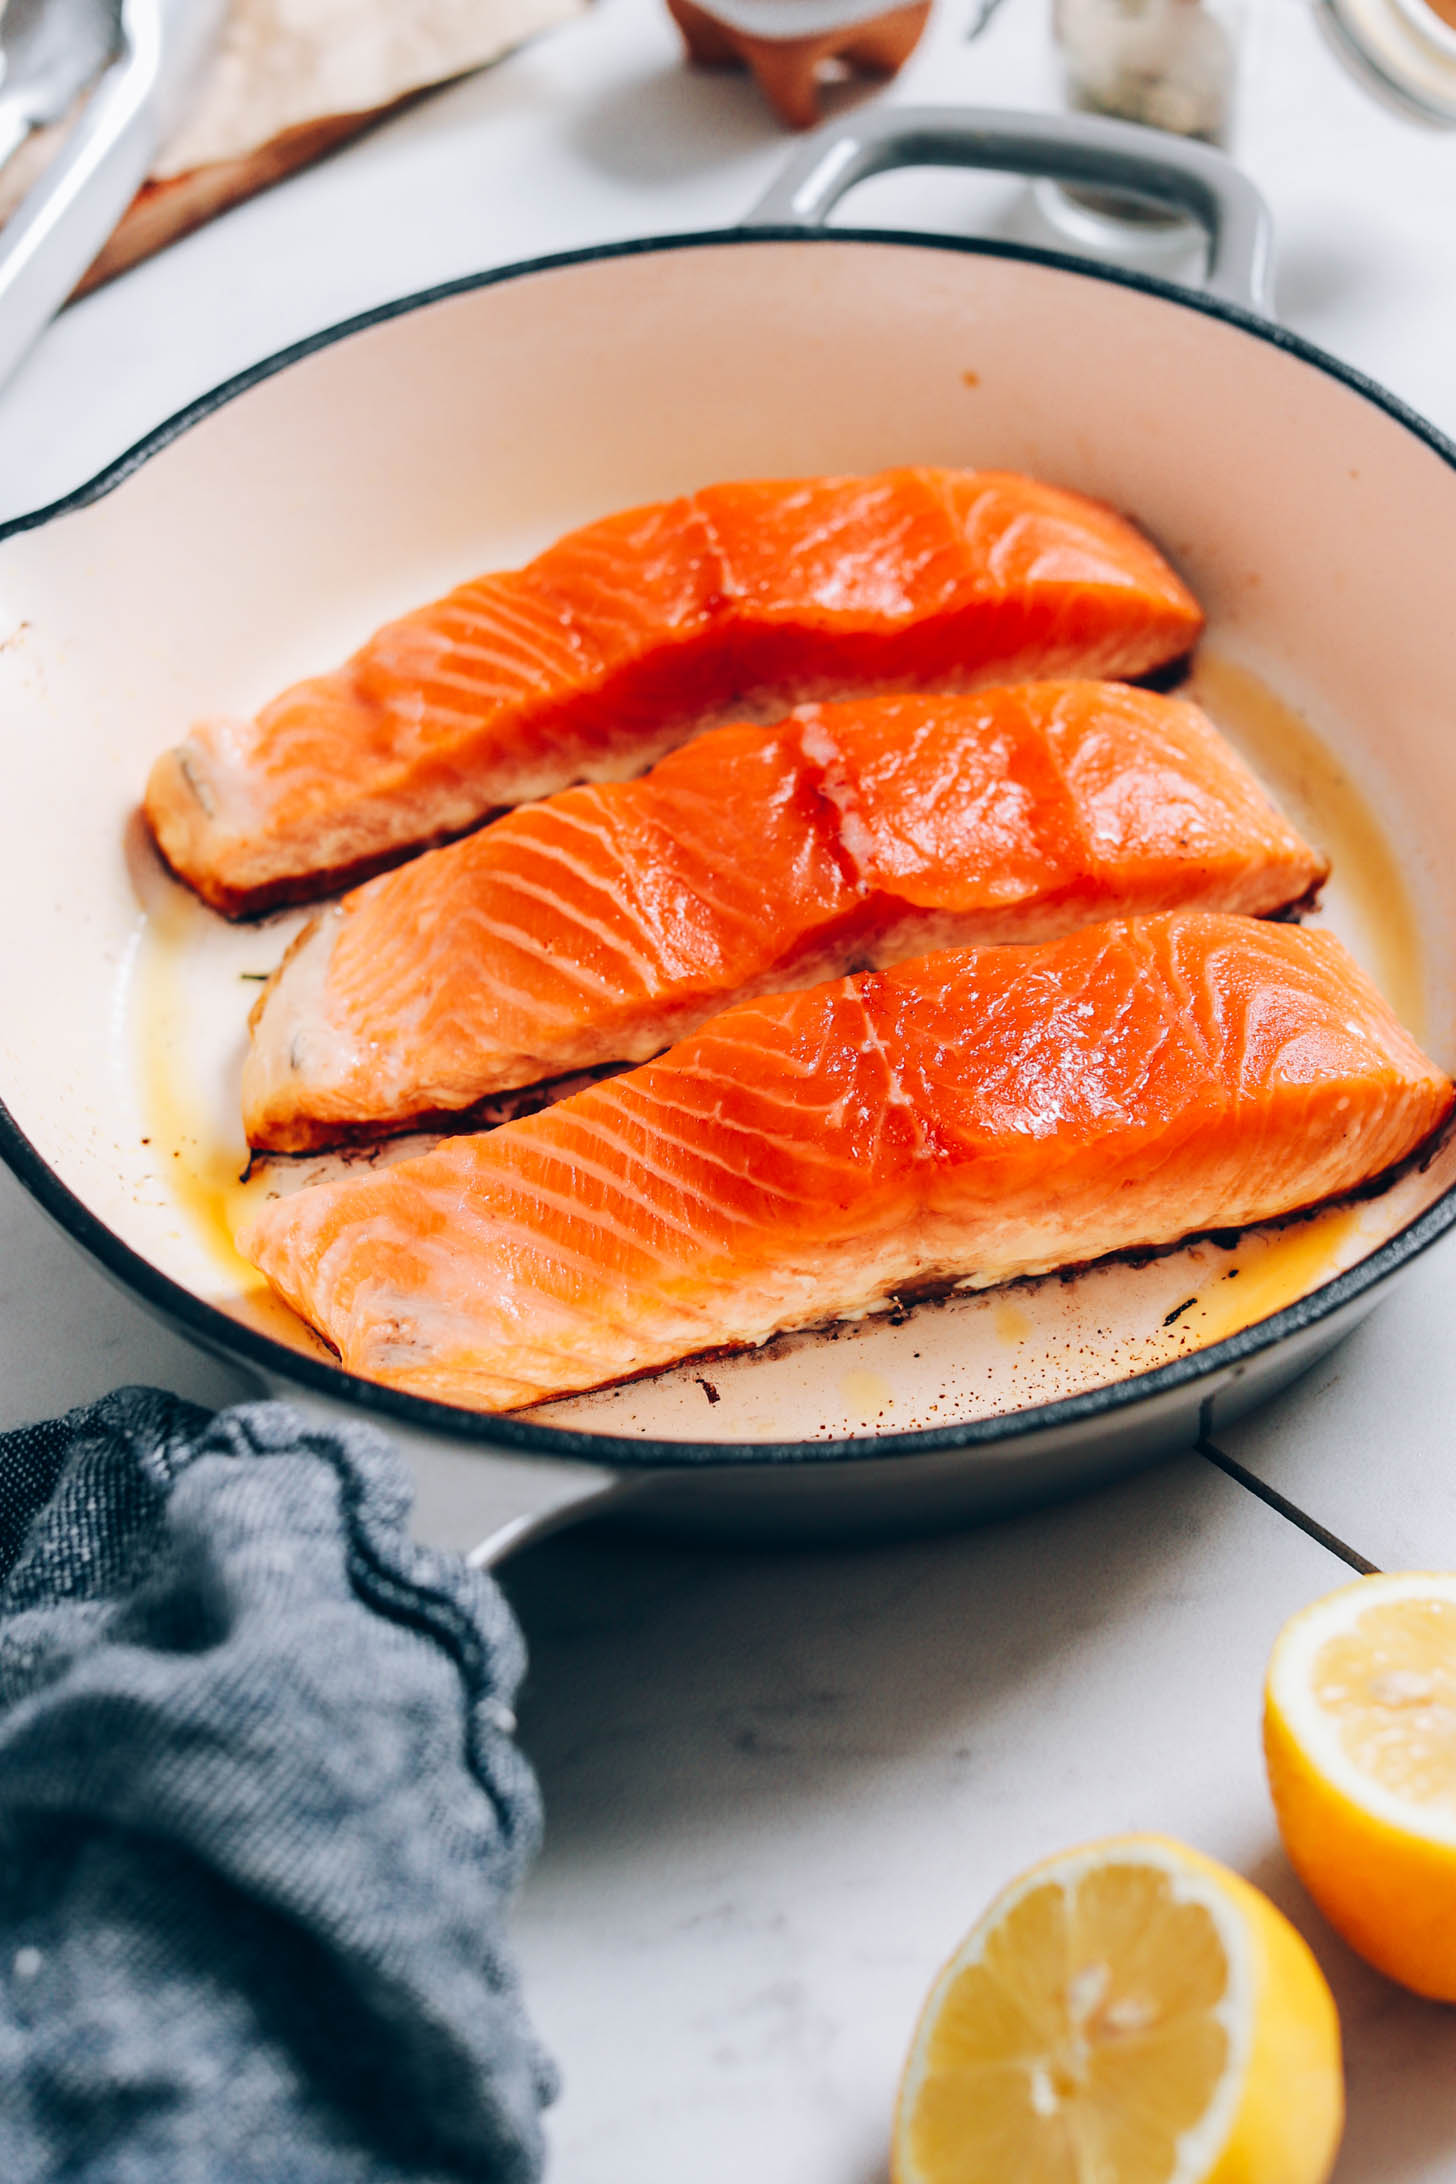
That means it’s time to flip, squeeze in some lemon juice, and cook on the other side for ~1-2 minutes (or up to 4 minutes for thicker filets).
You can tell your salmon is cooked because it will change in color to a lighter shade of pink and flake easily with a fork. A food thermometer inserted into the center of a filet should read 145 degrees Fahrenheit (63 Celsius) for food safety. Once fully cooked, it’s ready to plate along with your favorite sides!
Side Dishes for Salmon
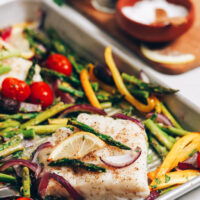
Salmon pairs well with nearly any side dish, especially those that are fresh or creamy. Classic pairings include roasted asparagus and mashed potatoes.
Or try it with our Crispy Smashed Potatoes with Garlic Pesto, Creamy Vegetable Risotto, Strawberry Arugula Salad, or steamed artichokes.
Can You Eat Salmon Skin?
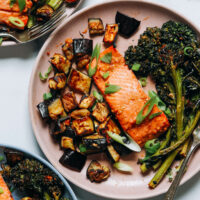
Yes! And when the skin is crispy like in this recipe, it’s our favorite part. To keep it crispy, it’s best to serve the filets skin side up.
The skin is rich in omega 3s (a healthy fat) plus other nutrients. If you want to eat the skin, keep in mind that it’s especially important to source wild-caught fish that comes from the cleanest waters possible (source).

We hope you LOVE this crispy skin salmon! It’s:
Tender
Flaky
Quick & easy
Versatile
& SO delicious!
More Easy Protein-Packed Mains
- Spicy Baked Fish Tacos (30 Minutes!)
- Easy 1-Pan Salmon Red Curry
- 1-Pan Mexican Shredded Chicken
- Marinated Peanut Tempeh (7 Ingredients!)
If you try this recipe, let us know! Leave a comment, rate it, and don’t forget to tag a photo @minimalistbaker on Instagram. Cheers, friends!
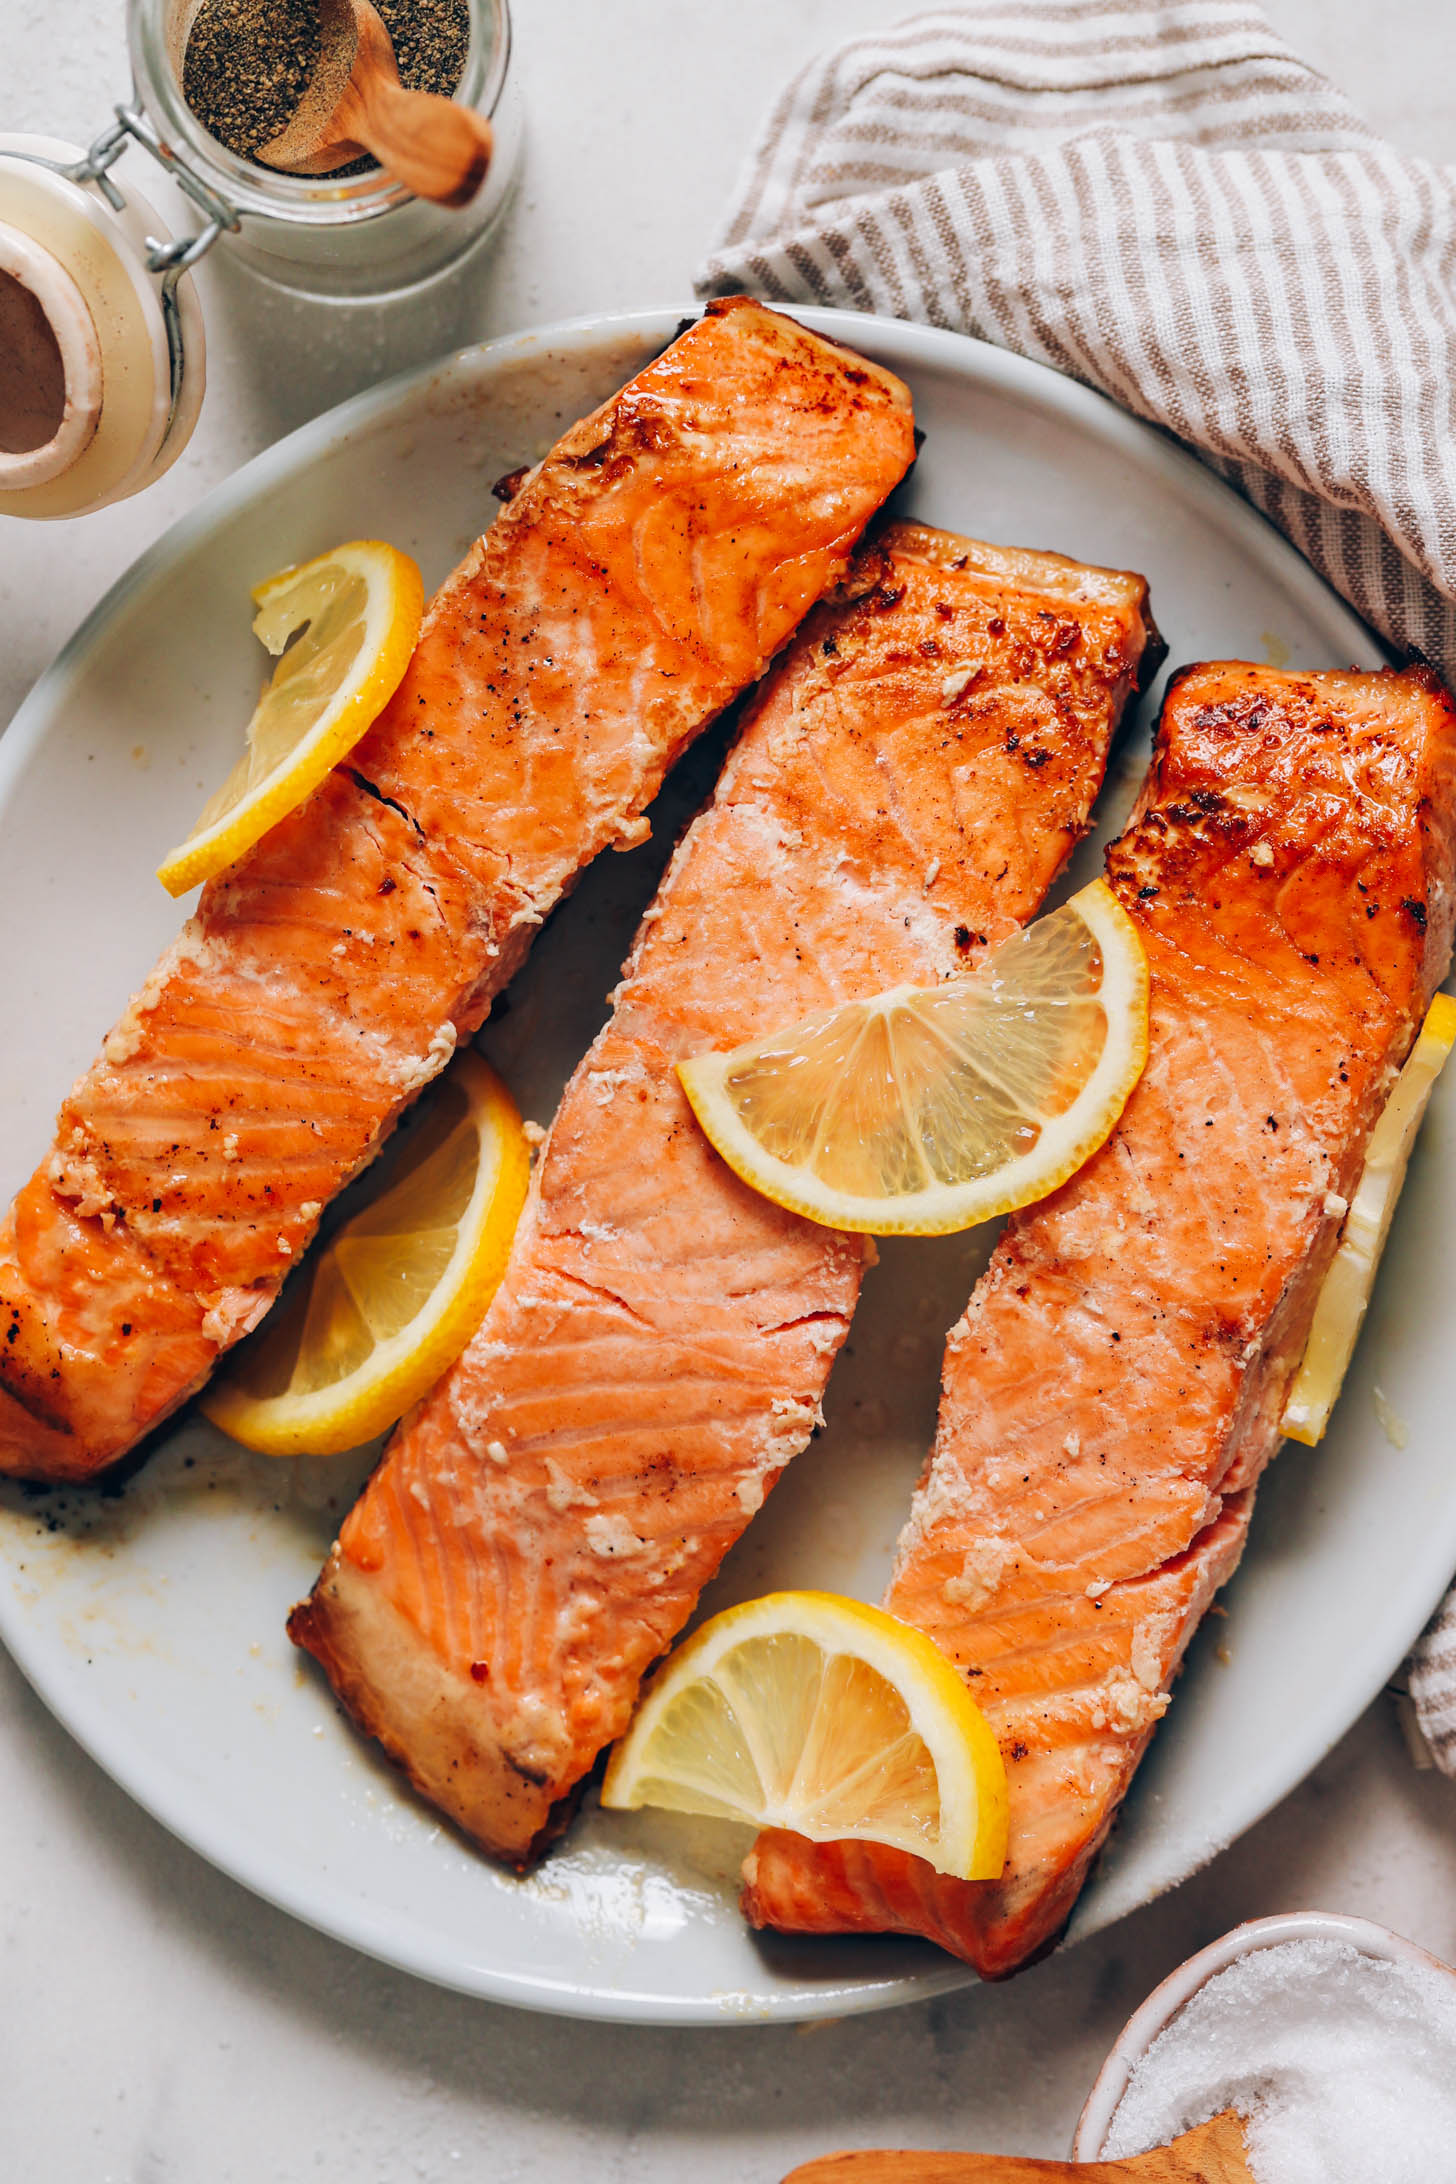
Crispy Skin Salmon (Perfect Every Time!)
Ingredients
- 2 (4-6 ounce) skin-on salmon filets (~1 inch thick // wild-caught when possible // King salmon for best flavor/texture)
- 2-3 tsp avocado or olive oil (DIVIDED)
- Sea salt and black pepper
- 1/2 medium lemon
Instructions
- Heat a large, well-seasoned cast iron skillet over medium-high heat. A well-seasoned skillet is important to prevent sticking.
- Place the salmon skin side up on a plate. Pat the skin dry with a paper towel, then brush with a thin layer of oil. Sprinkle generously with salt and pepper.
- When the pan is hot (test it by sprinkling some water in — it should sizzle), gently place the salmon in the pan skin side down and press it down so all of the skin makes contact with the pan (otherwise the skin will curl up). Reduce the heat to medium.
- Sear undisturbed for 6-7 minutes*, until the skin is crisp and the fish is cooked ~1/2 – 3/4 of the way up the sides of the filets (you can tell by the color — it will turn lighter pink as it cooks). Brush the top of the salmon with oil and sprinkle with salt and pepper.
- Use a spatula (and tongs if necessary) to gently flip the filets. Add the juice of 1/2 lemon to the skillet and cover. Cook for 1-2 minutes, or until the internal temperature reaches 145 F (63 C // temperature recommended for food safety). Depending on the thickness of the fish, it can take up to 4 minutes on the second side.
- When the filets are cooked, remove the fish from the pan and serve (we like serving skin side up). They’re delicious added to nourish bowls or paired with roasted asparagus and mashed potatoes.
Video
Notes
*The reason to brush the fish with oil instead of adding it to the pan is to prevent smoking — as the pan heats up, all of that oil will hit its smoke point (which is why it often smells fishy the next day if you don’t have a good vent).
*A ~4-ounce raw filet will cook down to ~3 ounces.
*Nutrition information is a rough estimate calculated with 4-ounce filets, avocado oil, and 1/8 tsp each of sea salt and black pepper.




Barbara says
Never add lemon to a cast iron skillet. It is reactive with the iron and tastes pretty bad.
Hi Barbara, we haven’t had any issues cooking it in cast iron and find it’s the best option to prevent sticking to the pan.
Linda says
my husband called this epic! He loved it!
Amazing! Thank you for the lovely review, Linda! xo
erin says
This recipe was perfect, quick, simple and delicious *chefs kiss* No need to deviate from the recipe but its simplicity leaves room for interpretation. Immediately added it to the weeknight dinner rotation! Thank you so much!
Woohoo! We’re so glad you enjoy this recipe, Erin! xoxo
Elbaton says
I used wild caught salmon with fairly thin filets (not like the Costco farmed salmon) and this turned out perfect! Thank you! I removed the scales, but is this always necessary? Will the searing make the scales crispy and edible?
We’re so glad it turned out well! Hm, the fish we’ve purchased has skin on and it becomes crispy and edible. We don’t think it has scales though! We’d suggest removing them.
VICKY says
Made this last night for some guests we had for dinner, with apple pecan arugula salad and quinoa, it was a success! I was hesitant to eat the skin at first but it was really tasty! The only thing, it made the whole house stink like fish lol
What a lovely meal! Thank you for sharing, Vicky! xo
Lacey says
Used this recipe to make salmon for dinner this evening and it was amazing. The skin was so crispy. The only way I will make salmon from now on. Follow the instructions and you will not be disappointed.
Aw, yay! We’re so glad to hear it, Lacey. Thank you for the lovely review! xo
Ens says
I always struggle so much when making salmon because the skin always sticks. I’m so excited to try this out! It looks fantastic!
We hope it’s helpful, Ens!
Therese says
This is so brilliant. I nver thought to coat the skin instead. I love crispy Salmon skin. I will be trying this tonight. I add a bit or fresh thyme too.
Thanks.
Yay! Let us know how you like it, Therese!
Megan says
Any tips on cooking salmon that’s been defrosted to prevent water-logging or weird texture? I buy wild-caught usually frozen and have been having trouble making it crispy even when I defrost overnight in the fridge.
Hi Megan, we’d suggest defrosting in the refrigerator for about 24 hours, then draining any liquid and patting dry with a paper towel to remove as much moisture as possible. Hope that helps!
Brooke says
I’d also recommend letting it thaw all the way or partially, then taking it out of whatever packaging and patting it dry as much as you can before leaving it skin side up in a casserole/baking dish to dry out in the fridge as much as possible. Do this for up to 24 hours, but even just an hour before cooking (if the fish is already thawed) will help immensely!!!
Great tips, Brooke!